homeschooldrama.com blog
How to Direct a Play
It’s nice to have a program to hand out to your theater guests when performance night arrives. A program does not have to be fancy; it can be simple and still accomplish the same goal. It lets your audience know what to expect if you plan to do multiple presentations throughout the evening or to simply tell them who is in the cast of the play you are performing.
Hi! I'm Danielle and in my twenty years of homeschooling, I have enjoyed directing numerous plays with my kids and our fellow homeschoolers and want to share what I’ve learned and continue to learn with you.
In the program you should include the group who is performing, what they are performing, the date(s) of the performance and the cast list or list of events for the evening.
One way to create a program is on Canva. This is the method I’m going to explain in detail in this blog.
You can use Canva for free, so don’t worry about paying anything if you don’t already have a paid account. You can start with two blank pages or find a template that is comparable to what you like to get you started. Here is a program I have created for The Big Race play. I have learned that it’s easier to learn how to make something if I have an example to work from. You can either fully use the template I have created or play around with it and learn how everything comes together, so you can learn to make your own.
The nice thing is there is an “undo” button in case you make a mistake. 😉 You can also go under the FILE drop-down menu and choose “make a copy” so you can work from a copy instead of the original. This way you can try different scenarios and see which you like best. Sometimes I make a program with a color photo, then make a copy of that program and turn the photo to black and white. This works well so I don’t have to recreate the entire program again, and I can see both options to figure out which I like best.
If you are using a template, then you just change the content inside to match what you want to say. You can change the font, font size and color and the color of the background. You can add and subtract whatever you want to make it your own including adding a cast picture if you have one or some decorative elements.
On the cover page, it’s nice to include the name of your group, what you are presenting and the date(s) of the performance. When my daughter was in ballet, the ballet director used to have two different colors for her programs to distinguish between which night the program was for because different dancers performed different roles each night. This was a great way to use the same basic template then simply change a few details inside including the date. This also helped to keep track of which program was to be handed out which night.
If you’re performing a play and all the actors are the same, you can put all the performance dates on one program if you’d like. If you are having a multi-day conference, training or event and the details change from day to day, then you can use the same template, but change the details for each day or create a program with more pages to incorporate every day of the event.
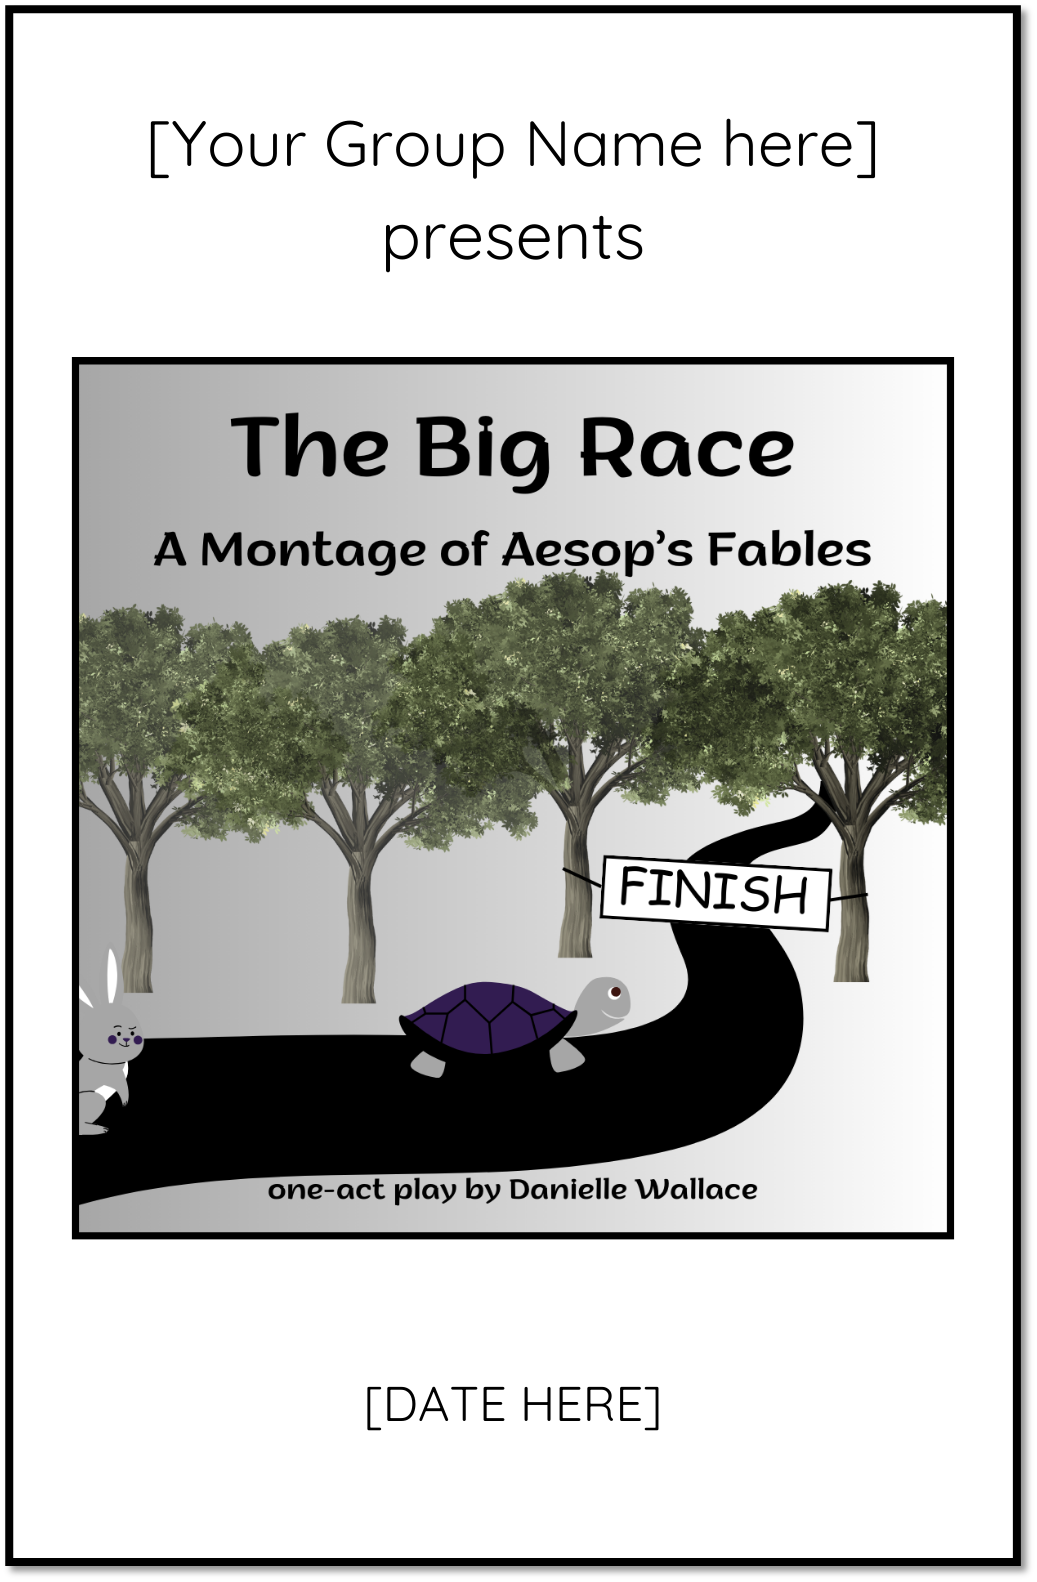
Program front cover
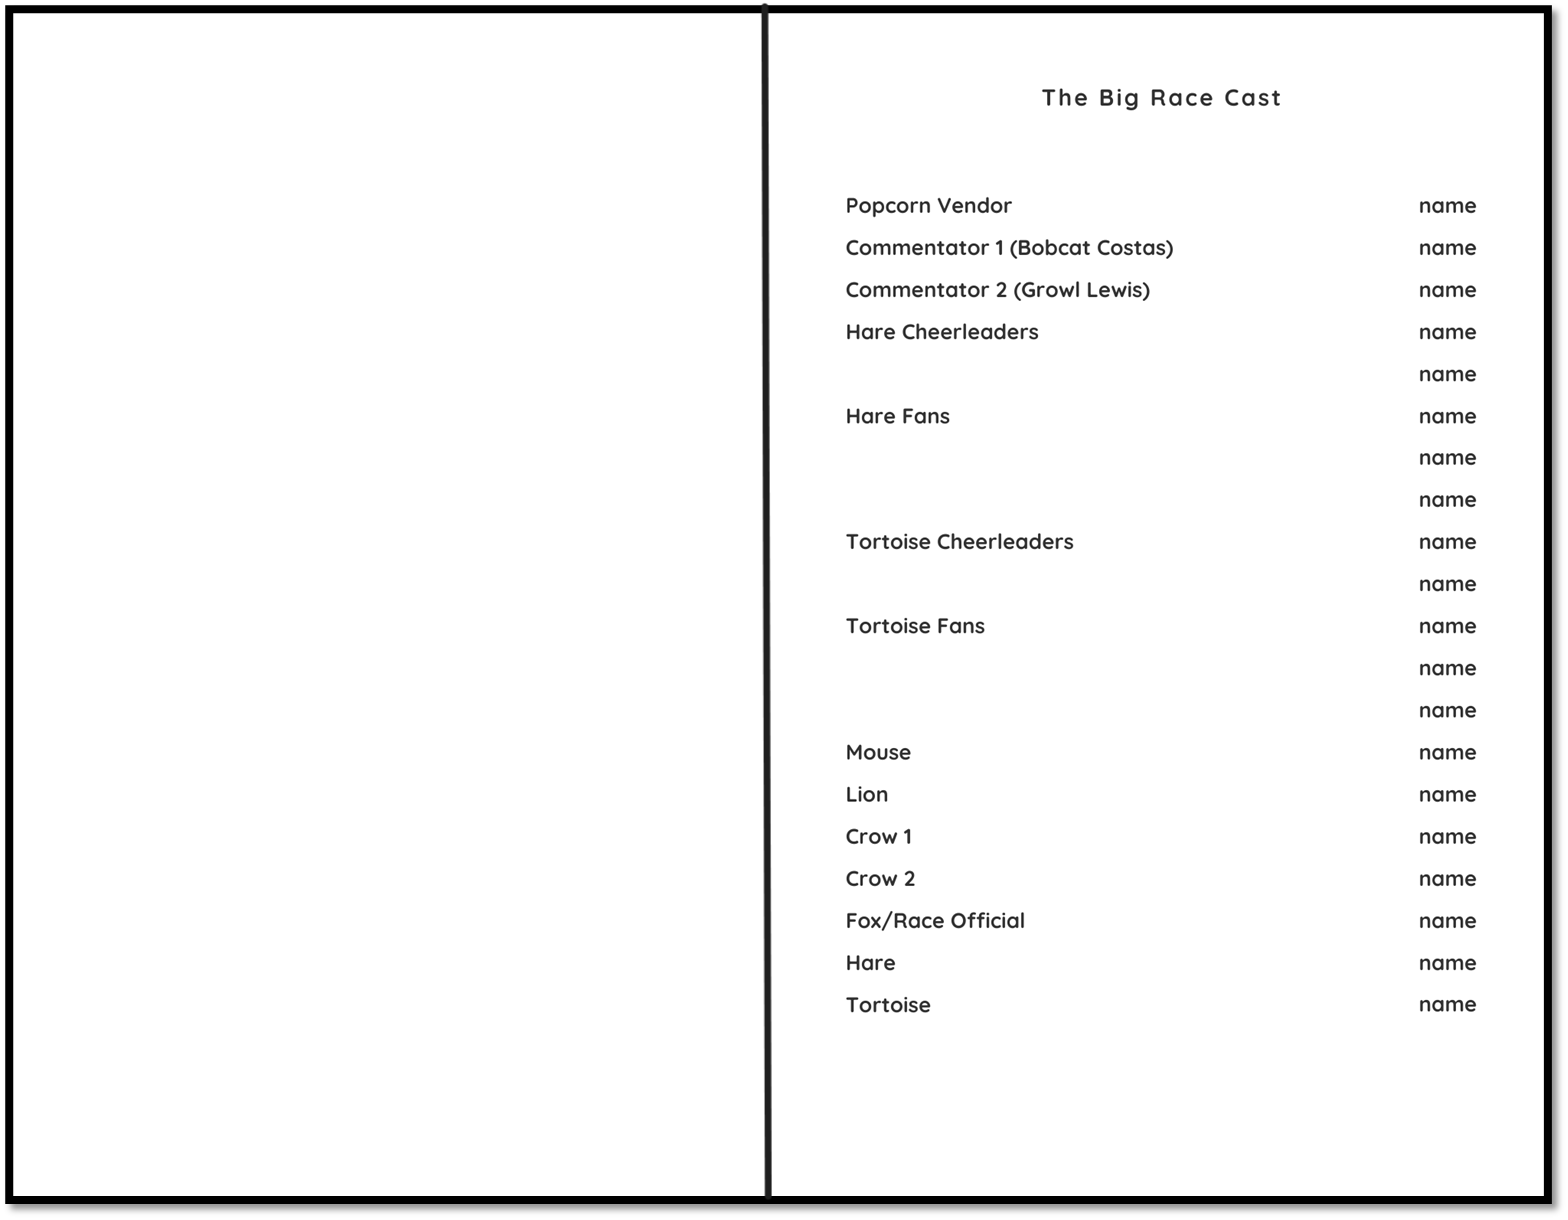
Program inside pages with cast list
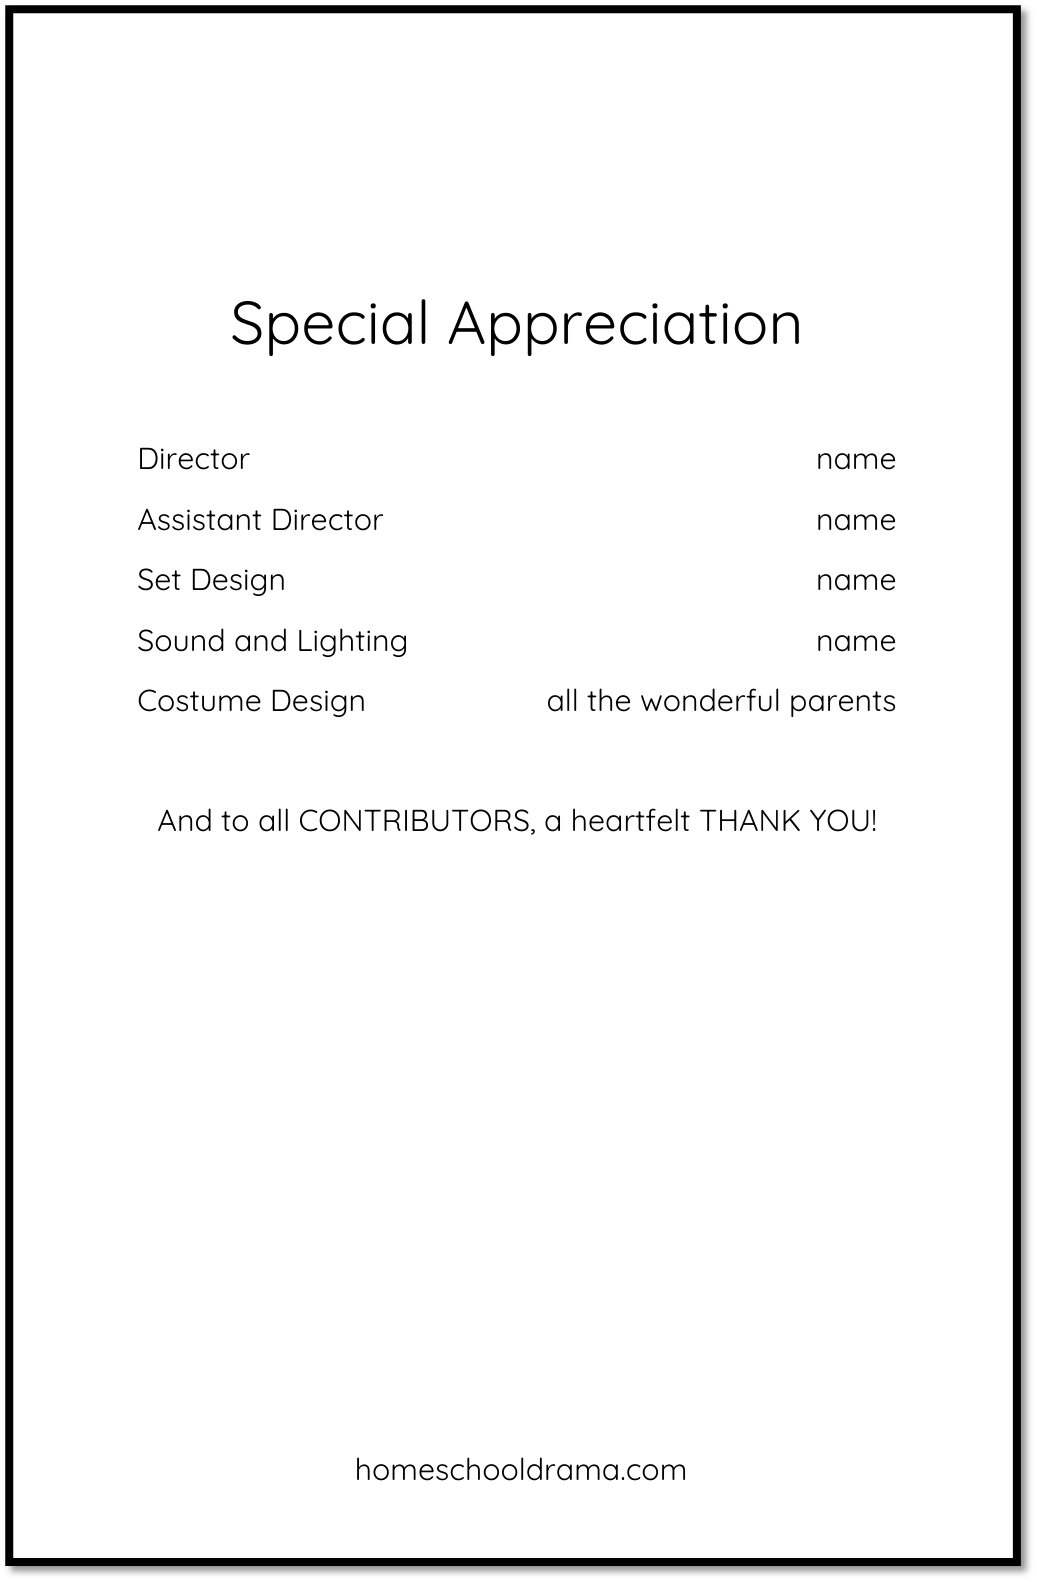
Program back page
As you can see by my template, it’s pretty simple and can easily be adapted with your information.
To change the group name, simply click on the text box where it is located on the page and then type your group name. You can do the same for the date. If you desire a different font, font size or color, then highlight the text and make the changes with the drop-down menu for the font or the size and color buttons located towards the top left of the workspace.
You do the same to add the names of your actors or to change some of the verbiage to make it your own. Don’t have someone working on lights? No problem, just delete that text and the “name” that goes with it. Have multiple people to acknowledge for a certain role? No problem, just add another line for their name or type the names together on the same line; whatever you prefer because it’s your program.
To change the picture, you can click on the picture to delete it and add your own image. You will need to click “uploads” on the far left of the page, then click the “upload files” button to search for your image and upload it. Once it’s uploaded, you can click on the image and adjust it to fit the page design. If you want it to be outlined, then click on the image and choose the three lines on the top of the workspace to add an outline. You can also choose how thick you want that line to be. If you click on the outlined square next to the three lines you can choose what color you want the outline to be.
I have left the background plain to use less ink when printing each program, plus to allow the ability to print on white paper or any color I want. If you want there to be color on the background, then you can click on the full image and choose the color square on the top of the page to choose a color. If you have a specific color you would like, you can choose from the selection or click on the multi-colored square to choose your own specific color. You can click around to see what you like or put in the Hex code for your brand color or favorite you may have.
Make sure to save your work under the FILE drop-down menu, then click “download” from the drop-down box to download it to your computer. You will then choose under file type the “PDF Print” option and click download again to ensure you have the right format for printing.
My template is designed to print on any color paper, so keep it simple with white paper or choose a color or colors to represent the theme of your show. Of course, keep in mind that certain colors of paper will impact the color photo on the program more than others. That's why, if I'm using a color photo, I like to keep it clean with white paper. Don’t forget to use a heavier pound paper to avoid the print from bleeding through to the other side. Plus the program will feel more durable when handing it out and keeping it as a cherished souvenir.
To print, either choose a two-sided copy option if you have it, or print out page one first, then flip it over to print the second page on the back. You can try it with one copy first to find the best method for your printer if you don't have the capability of printing both sides at once. Either way you'll have a wonderful program for your audience and the families of the cast.
Last step - fold the program in half. If you have a lot of programs, be sure to recruit some help so you don't have to do it alone.
With these simple steps and a helpful template to start, you can create a special program for your play. This is something that will be cherished by the actors as they see their name in print for the role they played, plus for the parents who get to watch their children perform.
Plan on ordering a play from homeschooldrama.com? Many plays automatically come with a template designed specifically for that play and some other helpful tips in your email after you’ve placed your order.
Want to make life easier and be the first to know when the next blog is posted? Sign up below for our email newsletter to get the latest news!
Thanks for joining us!
Danielle at homeschooldrama.com
