homeschooldrama.com blog
How to Direct a Play
So you’ve found a play you’re excited about your students performing, but you just don’t know what steps to take and in which order. Here’s a simple guide to help you break down what you need to do to have a successful show.
In my twenty years of homeschooling, I have enjoyed directing numerous plays with my kids and our fellow homeschoolers and want to share what I’ve learned and continue to learn with you.
How Do You Eat an Elephant?
You may have heard the saying, “How do you eat an elephant?" with the answer being, "One bite at a time.” That is exactly how you need to think when taking on a project like this. You cannot worry about the night of the performance and the microphones the first week. Nor worry about the costumes or the scenery quite yet. You just have to think about how many students you have and how many roles you have to give out.
You don’t have to do this on your own. Recruit parents to share their gifts and the load. Then trust your team to get their part done. The students can also help build the sets and older students can work backstage or on sound effects.
Remember it doesn’t have to be perfect. It’s about creating an opportunity for your students to perform and learn a lot of great skills along the way. Sometimes when things go wrong, we learn the most and, as the saying goes… “The show must go on!” It’s amazing how much more kids can handle when they realize this important phrase.
Keep it simple. The more complicated you make it, the more stress you will have. Do you have to have elaborate sets or will a simpler setup still tell the same story? Do you have to present a 1 ½ - 2 hour play, or will a 30 minute play accomplish the same goal?
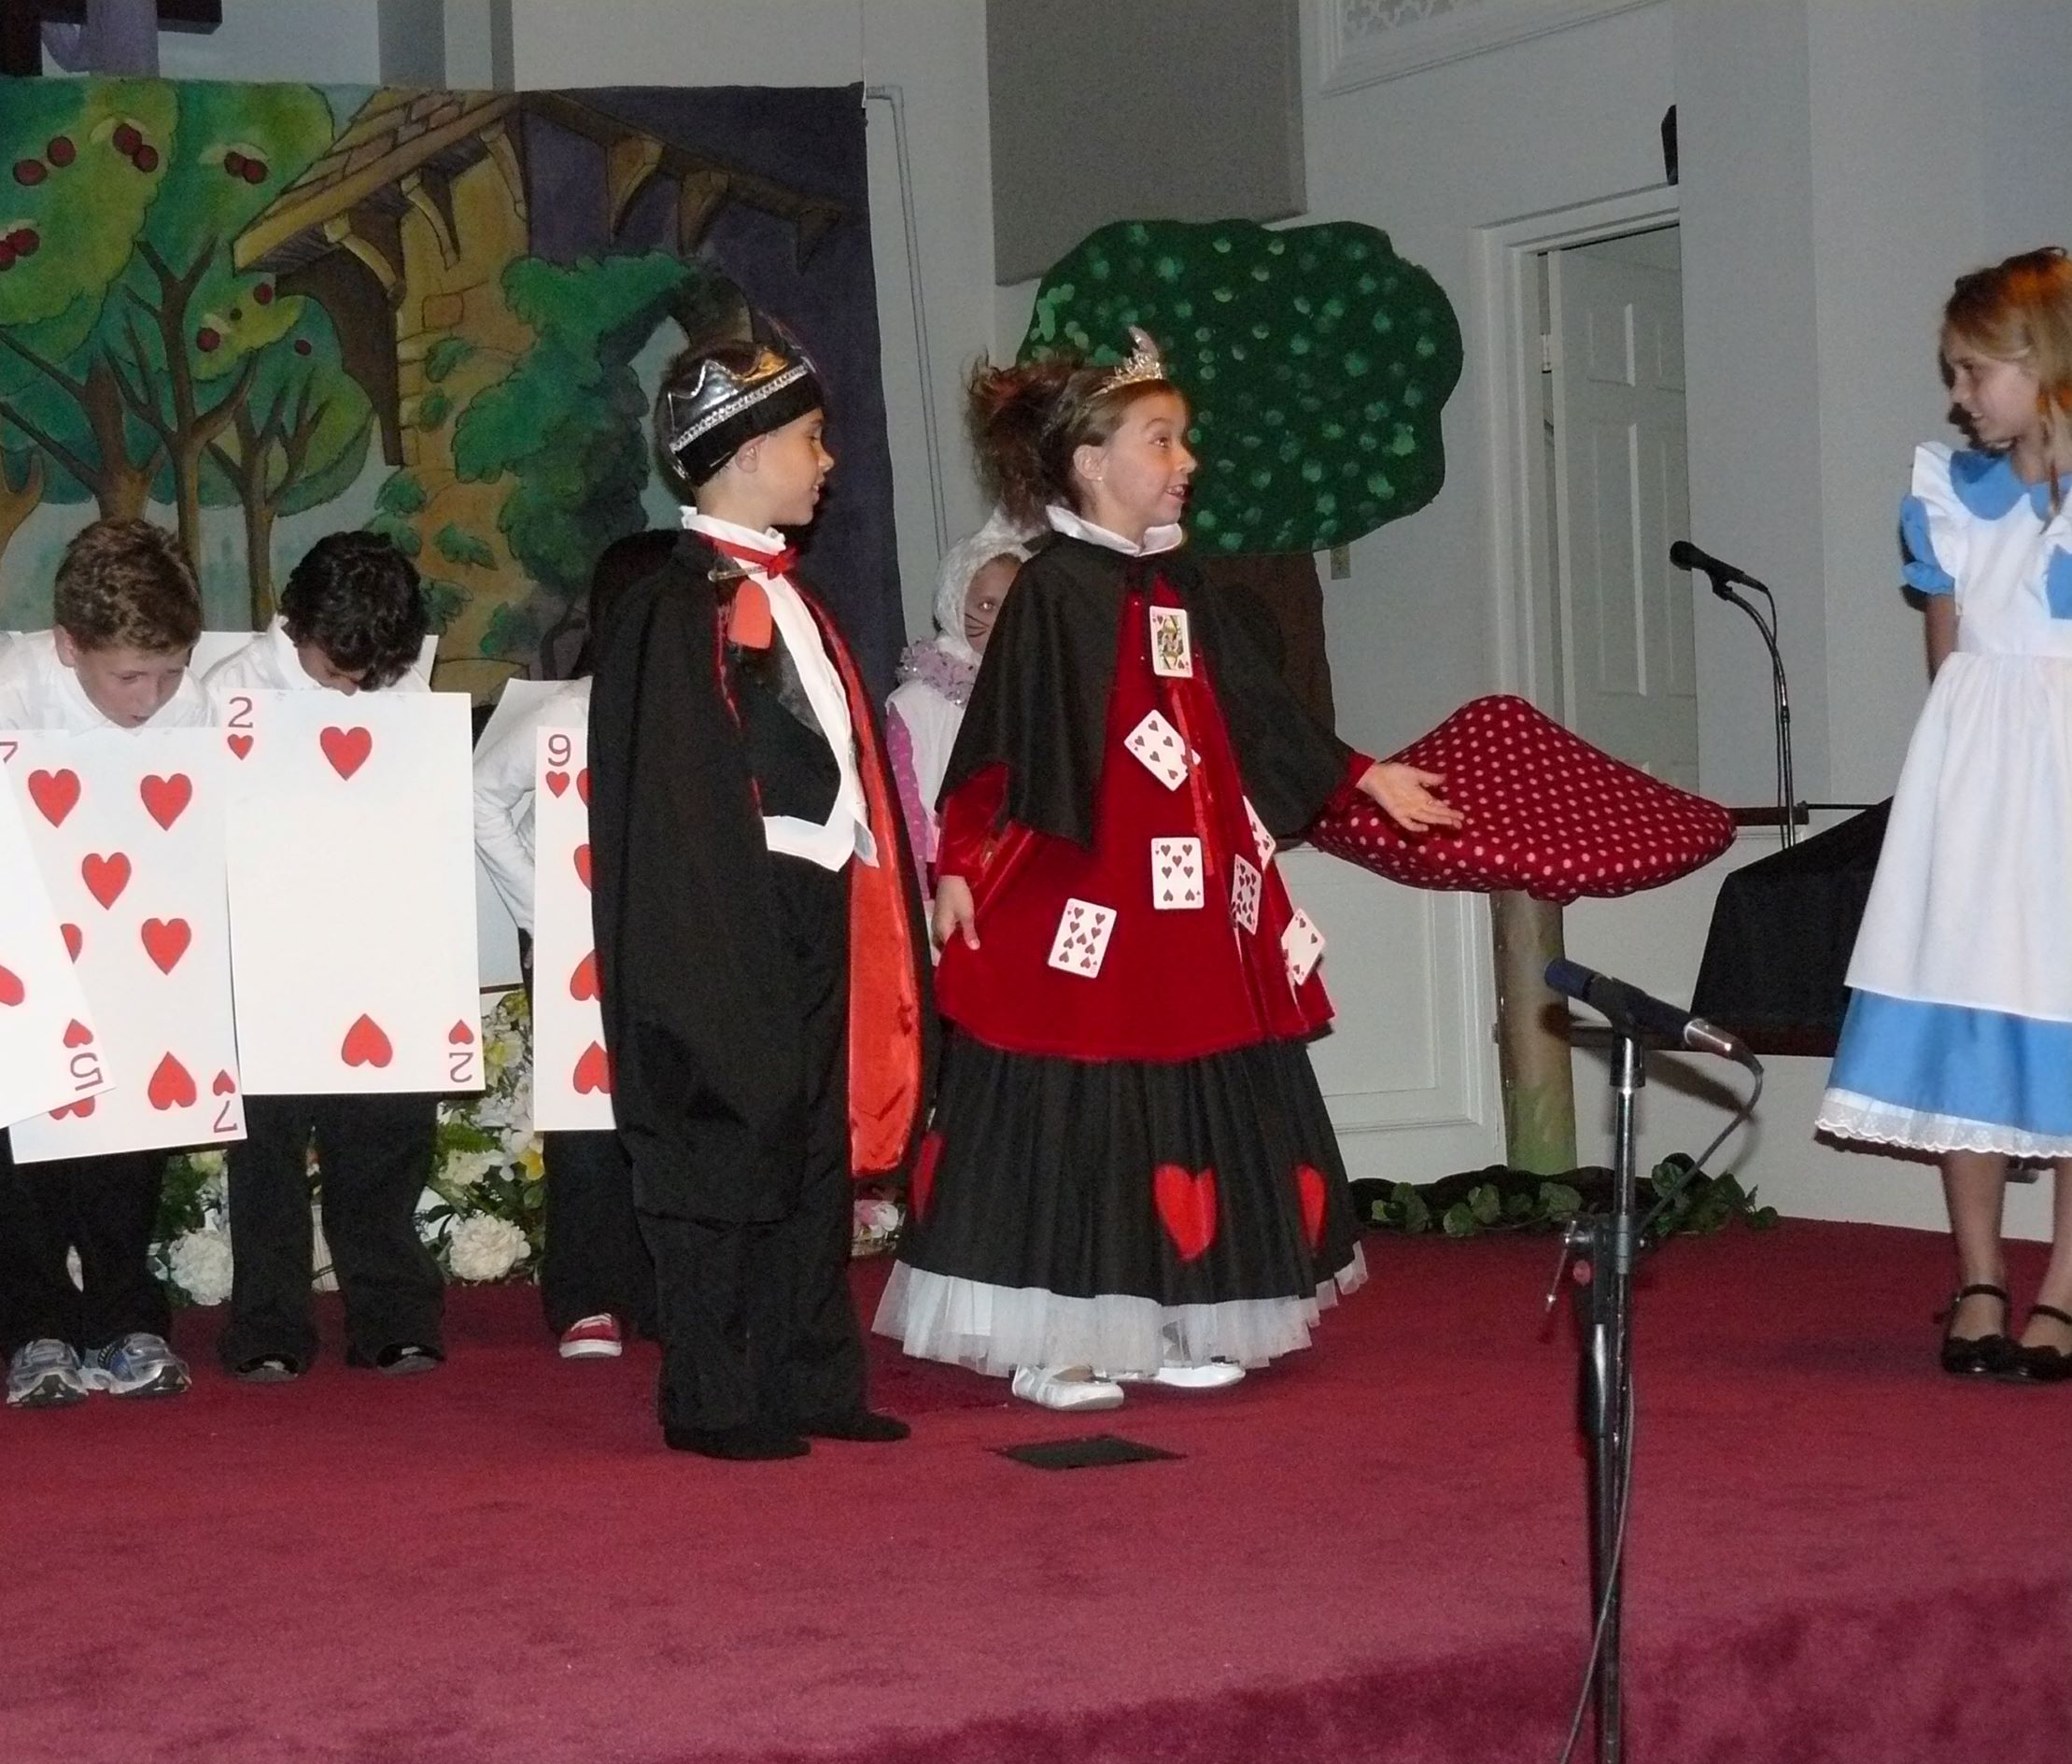
An Example from Alice’s Adventures in Wonderland
When our elementary/middle school group presented Alice’s Adventures in Wonderland the main actors were broken up into two classes, so I needed to divide the play in a way that one class could be in certain scenes and the other class could be in the others. This way they did not need to rehearse with each other until the end. Since Alice and the White Rabbit have so many lines and are throughout the entire play, I split those roles so there were two of each – one for one class and one for the other.
When we held auditions, we knew that certain kids would only be trying out for the roles that their class was a part of, which made it a little easier to break down and make decisions. There were some animals with one line a piece in two parts of the play, so we used those parts for the 1st grade class. They could spend most of their semester doing the class they had originally signed up for, then switch to the play toward the end of the semester to learn their line, get a simple costume and run through it with the big kids before the final performance.
As the semester moved along and I continued to study the script, I would make notes of what props were needed and possible scenery. I had a brainstorming session with some moms as we considered how to make a mushroom that the caterpillar could sit on and how to make Alice look bigger as she grew in the house. It’s always fun to brainstorm, and we came up with some really creative ideas. The students were also a part of the creative thinking and came up with some unique ideas themselves that we ended up implementing. It was a team effort and something everyone could be proud of once the show was performed.
Start Small
Again, keep it simple. Especially if it is your first time. You can build up to bigger productions as the years go like I did.
In the beginning my kids did a basic Christmas performance by singing a few songs or participating in a live Nativity play where they just showed up, got a costume and acted out what the narrator was saying. As the years went on, we slowly built up to doing bigger and bigger productions with more and more kids. We didn’t have to start big; we could learn by starting small and growing from there. Every performance gives us opportunities to learn and grow, which is another great thing about putting on plays!
.jpg)
While our blog series covers some of the steps, if you want to learn about all of the steps below for directing a play then check out How to Direct a Play - a step-by-step guide:
Auditions
1st Rehearsal: read-through the whole play
Blocking
Memorization of lines
Character Development
Off book run-through
Set design ideas, materials, how-to
Costume ideas
Creating the program
Run-through on stage or mark-up a room
Full run-through with everyone
Technical run-through
Dress rehearsal
Performance night
You Can Direct a Play
It’s fun to direct a play just as long as you remember these important tips:
Take it one step at a time
You don’t have to do it on your own
It doesn’t have to be perfect
Keep it simple
Want to make life easier and be the first to know when the next blog is posted? Sign up below for our email newsletter to get the latest news!
If you’re looking for a play to perform, check out these plays!
Thanks for joining us!
Danielle at homeschooldrama.com